"This GAN Page Does Not Exist" Making-of - Part 2: The Real Thing
16 Jun 2019
This article is part of my series “This GAN Page Does Not Exist Making-Of”. It is recommended to read the previous articles (Introduction, Part 1) if you haven’t yet.
In the previous articles, I have explained the concept of “This GAN Page Does Not Exist” and how I was looking to implement it using NVIDIA’s open-source neural network technology, StyleGAN. Now, I will explain the actual realization of this project.
New With Old
While I was training my StyleGAN network, I was looking for more information about Generative Adversarial Networks (GAN) when I stumbled upon a paper for another architecture developed by reasearchers from Google, colloquially known as “BigGAN”. When this technology was unveiled in late 2018 (i.e. a few months before NVIDIA’s StyleGAN) it prompted various degrees of enthusiasm because of some impressive-looking samples, generated by training the network over ImageNet (which I talked about in Part 1).
It seems the focus of the enthusiasm has since shifted towards StyleGAN. However, what personally put my interest on BigGAN (over alternatives) was the example Google Colab notebook, highlighting an interesting feature: the possibility of giving the network a specific category of pictures to generate.
Even though BigGAN is older, and supposedly doesn’t perform as well as StyleGAN, this one feature meant that I could easily achieve the original concept of my website. Instead of making random, on-the-fly pictures, I would pre-generate pictures from a selection of categories:
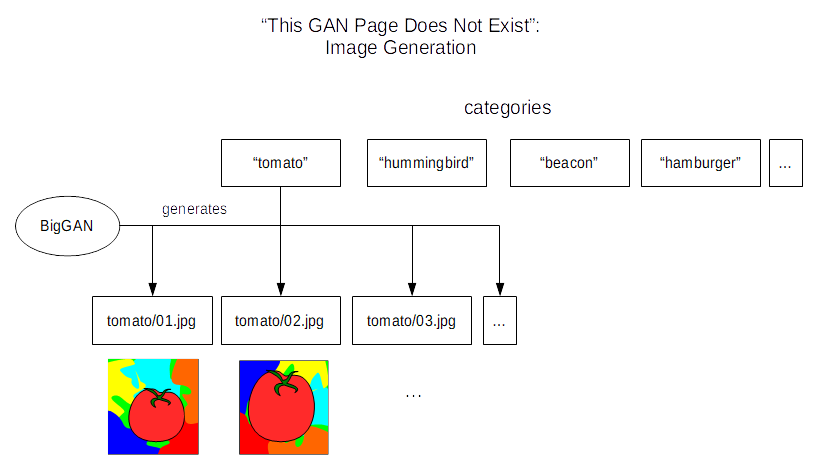
…then the website would display one of these pre-generated pictures according to their appropriate category:
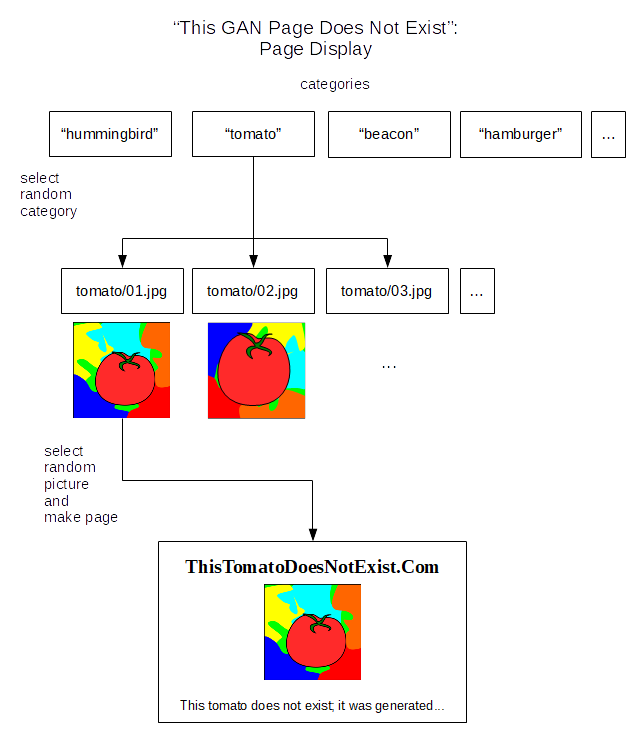
The idea of generating pictures in advance was inspired by Gwern’s writeup for his own project.
Generating pictures
To generate the pictures, I first needed to make a selection of categories. A complete list can be found in the aforementioned Colab notebook, in the code of the image generation form:
category = "933) cheeseburger" #@param ["0) tench, Tinca tinca", "1) goldfish, Carassius auratus", "2) great white shark, white shark, man-eater, man-eating shark, Carcharodon carcharias", ... "998) ear, spike, capitulum", "999) toilet tissue, toilet paper, bathroom tissue"]The full list lies in the @param comment string, which is a list of possible options in the form. Doing some text processing on that list produced Python code for a list of categories, which I processed again to get normalized names:
categories = ["tench, Tinca tinca", "goldfish, Carassius auratus", "great white shark, white shark, man-eater, man-eating shark, Carcharodon carcharias", ... "bolete", "ear, spike, capitulum", "toilet tissue, toilet paper, bathroom tissue"]
# split each string by comma
# retrieve first element
# strip whitespace and replace non-letters by underscores
categories = ["_".join(categ.split(',')[0].strip().replace('-', ' ').lower().split()) for categ in categories]
>>> categories[:3]
["tench", "goldfish", "great_white_shark"]I then sampled random categories from the list, 60 in total:
import numpy as np

NUM_SELECTED_CATEGORIES = 60
selected_categories = np.random.choice(len(categories), NUM_SELECTED_CATEGORIES, replace=False)  # get a random sample of indices
selected_category_names = [categories[i] for i in selected_categories]
The final list of categories can be seen here.
Considering, in the code, that the categories are fed into the network as integers, we can refer to the Colab notebook and generate our pictures like this:
samples_per_category = 60
samples_per_batch = 20

for i in range(len(selected_categories)):
    category_name = selected_category_names[i]

    # make folder if necessary
    if not os.path.isdir("images/" + category_name):
        os.mkdir("images/" + category_name)

    # retrieve category index
    y = selected_categories[i]

    # loop over batch size
    for j in range(0, samples_per_category, samples_per_batch):
        # randomize parameters
        truncation = 0.4 + 0.3 * np.random.rand()
        noise_seed = np.random.randint(101)

        z = truncated_z_sample(samples_per_batch, truncation, noise_seed)

        ims = sample(sess, z, y, truncation=truncation)
        # save pictures
        for k in range(ims.shape[0]):
            imsave(ims[k], "images/" + category_name + '/' + ("%05d" % (j + k)))
Please take a look at the Colab notebook for reference.
I actually had to use a few more pictures and categories, because not all generated pictures looked as good as the impressive samples I’ve referred before. It turns out you get weird results when there is too much variance and too few examples in the samples for a given category. On the other hand, other categories simply gave boring results even with high truncation (which is suppose to increase the variety at the expense of realism) there were probably not enough examples in the original dataset to produce varied results.
I guess not all categories have the same number of samples, or the same variance in the samples.
For instance, I chose to avoid categories that featured full-body instances of people as the results looked freakish. Many “dog” categories did not produce nice results either. I also manually removed pictures and categories that didn’t have a lot of meaning.
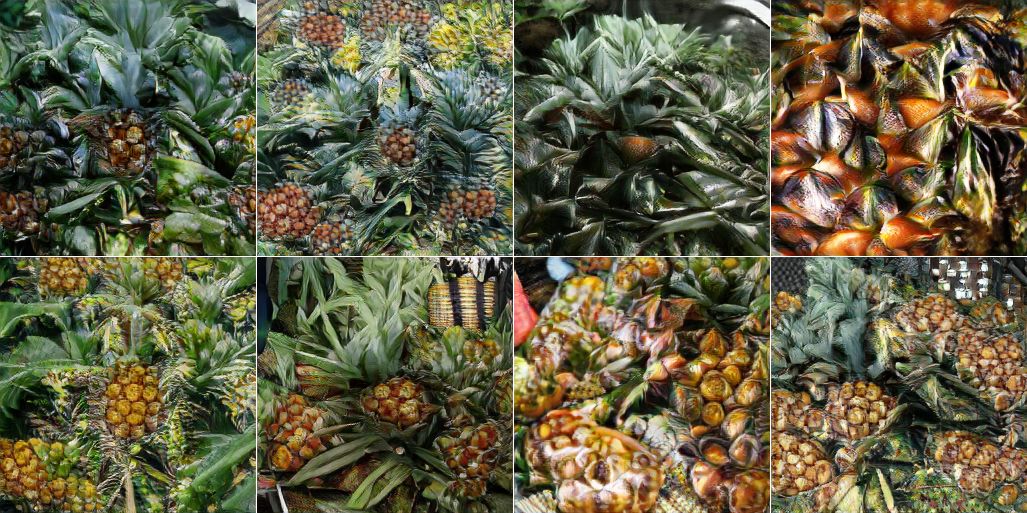
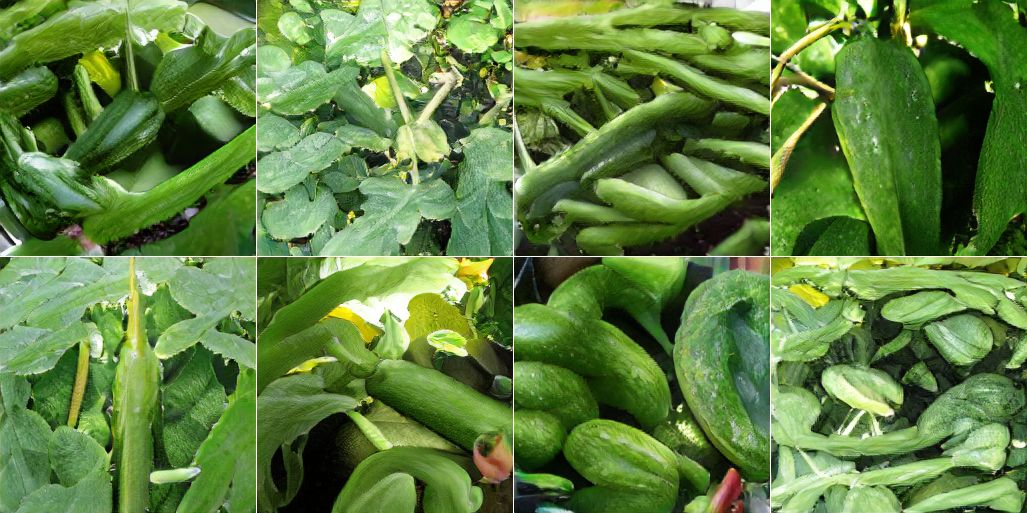
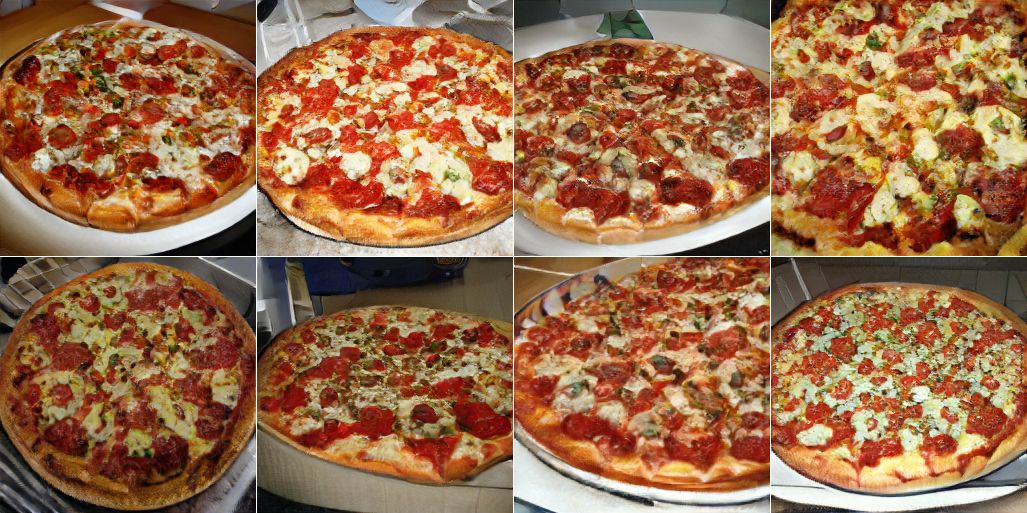
In total, around 3000 pictures have been generated, in almost 1 hour on my not-too-powerful, not-too-recent laptop powered by Ubuntu Linux and an Intel Mobile Core i5 – considering I didn’t have GPU acceleration, and the network was pre-trained. With neural networks, generating results is usually less resource-intensive than the training. The final pictures are organized in the filesystem by category, with one folder for each category.
Website
Once I had my pictures, all I had to do was to make a website to display them. I chose a simple solution consisting of a Flask application running on a Heroku instance. Flask is a simple microframework to develop Web applications in Python.
I generated a list of the categories and all the generated picture filenames with a script that walked through the folder structure. Then, for the website, it’s the algorithm I have described before: select a random category from the list, then a random picture of that category, before feeding both into an HTML template.
For the imaginary developer names (“Anna Smith”, “George Jones”, “William Lane” etc.) I thought of using another neural network, possibly a text-generating one with LSTM (see Andrej Karpathy’s blog post) but I thought this was a lot of effort for generating such small samples of text. I took the easy route and used the Faker library which already does the job: an imaginary name is generated at every page refresh.
After deploying on Heroku, voilà!
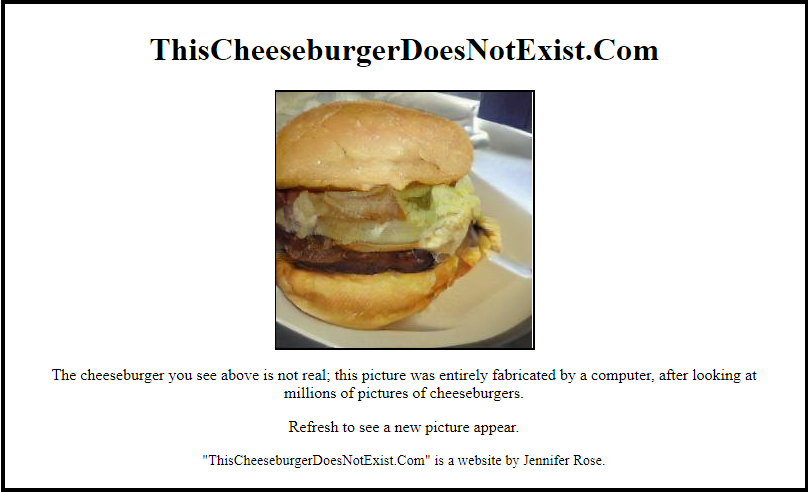
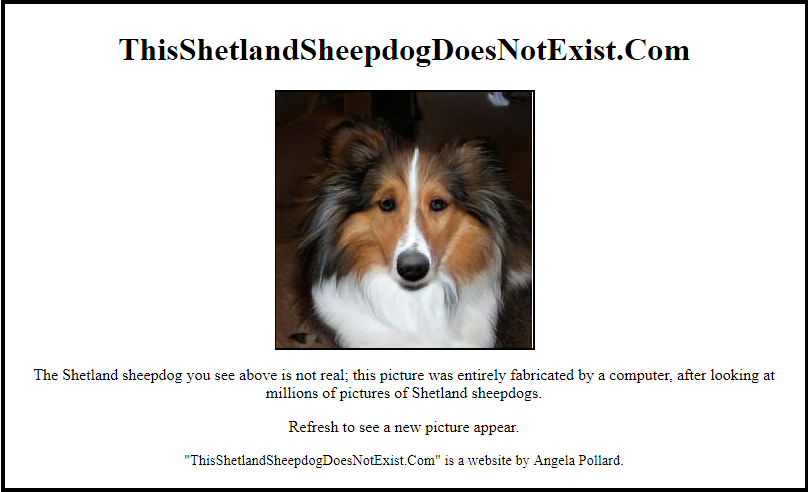
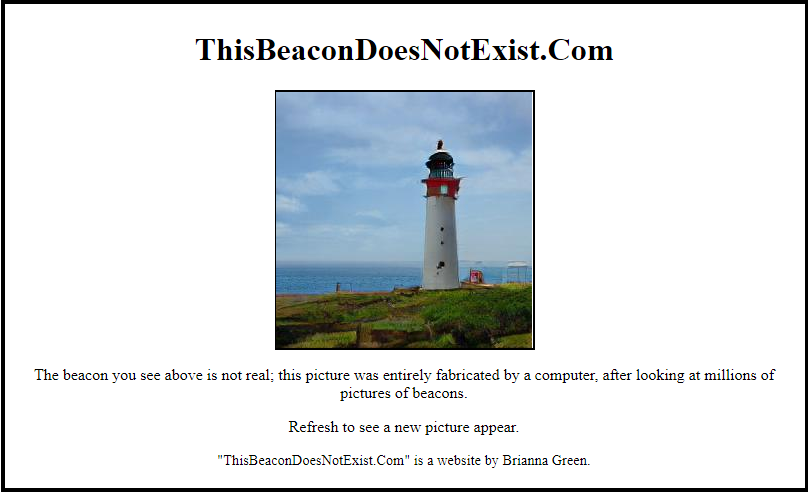
You can see the live result here.
Conclusion
And this concludes my journey into the world of GAN! Although I eventually didn’t have to train my own network as I originally expected, I’m still glad I could learn a lot about GAN, how they worked and how I could make a reality out of what was originally a nerdy joke idea. I hope reading this write-up has been entertaining and informative for you as well, and that it shows how you don’t need a lot of resources or background in computer science in order to use complex AI such as neural networks.
Feel free to share your thoughts in the comments section, and see you next time for more programming endeavours!